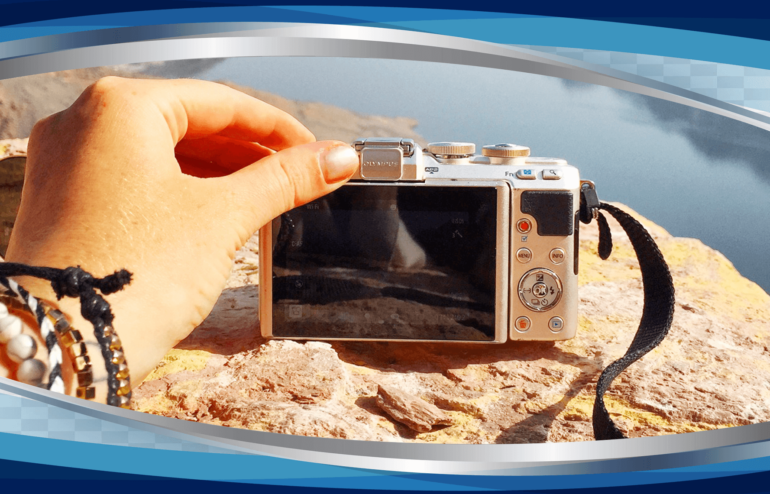
What vacation is complete without amazing photos to showcase your destination? Today, many of the holidaymakers return home with a staggering pot of about a thousand pictures on their phone and camera combined, only to be disappointed, for all these snaps turn out to be grainy, unfocused, blurry or unflattering mess ending up in a far away, to an unknown folder of your system.
Instagram is a totally visual platform and the more visually appealing your photos are, the better they’ll engage your followers. The boring, mundane poses won’t do anymore and people are striving to outdo one another with their holiday snaps. If you want to stay competitive, your photos need to warrant the attention of your followers.
We agree that a trip is not a story in itself; it’s just a series of events. Some of these events will be interesting and some will not but to take killer photos in nature you have to go all out. Venture to unknown cliffs and landscapes no one knew existed or give a unique angle to the same old regular spot, find a backdrop that’s wide enough to immerse yourself into the wild. From sunrise, sunsets and everything in between, you need to capture everything in a way you see it.
We’ve put together the ultimate guide to clicking and editing photos for Instagram, even from your phone! To help you take your Instagram game from shoddy to stunning.
1. Lighting Is The God
We all have been through that heart-crushing feeling when you take a good photo only to realize it’s been completely over-exposed by the sunlight, or that your lit selfie at the bar was just too dark to make its way to Instagram. Well, first thing first- there’s no simpler change that will so drastically improve your photos than paying attention to your lighting.
During indoor shoots, sit near a window and away from any artificial light that could tint your photographs yellow. Natural lighting is usually your best bet when it comes to photography.
Photos taken at dawn or dusk will result in soft shadows and light contrasts, and there’s really nothing more important for taking a good Instagram photo than perfect light! The same benefit can be gained for the golden hour, where your subject can be backlit which will give you some pretty mind-blowing results and some silhouettes too.
2. Go filter free
It is always tempting to add those fancy filters to your Instagram photos, but sadly, sometimes, this goes way too far and they the resulted images turn out to be insincere and overexposed. Nothing is uglier and makes you look like a wannabe photographer than an overly edited picture. How would you feel when you visit many of these wonderful and beautiful places and get disappointed to see that the reality is very different from what’s been posted online? Take the Northern Lights for an example, the separation of colours can only be achieved with clever camera tricks rather than adding a filter to it.
Always try adjusting the brightness and saturation of the photo while you shoot before you toss them for filters. Make the colours brighter and the image sharper through your camera, it will be surreal and still be a faithful representation of what’s in front of you.
3. Key principal- the beauty of your surroundings
If you’ve really decided to be into the travel photography game this vacation then leave the selfies to the concerns of fashion and beauty and focus on showcasing the destination. No, we do not mean you completely exclude yourself from the pictures as after all it is your vacation and these are your memories, you gotta be in the pictures. There are people who post their holiday pictures with their faces so close to the camera that the only way you find out they are holidaying in, is because they have checked-in. So get down with some creative ideas to use your presence to showcase the primary subject that is the scenery.
The early birds get the best shot and the reasons are many- you achieve the best lighting from the sunrise (soft and natural), you will avoid the crowd thus you can create an impression that it is just you and the wild nature all alone (example- a picture taken from your back where you are seen gazing at a far away distance), the wee hours are hassle-free and very calm in nature so you get ample amount of time to experiment with your skills.
4. Need attention? Blue is the colour
Be it your smartphone or a DSLR camera, there are some colours which always come up better than others. One such colour is blue, which is often associated with calm, nature and relaxation, all of which help to develop the wanderlust bug. Okay! So this is why we love taking pictures of oceans and infinity pools on our travels.
According to an online research, mostly blue images on Instagram receive 24% more ‘likes’ than their red or orange counterparts. And also the photos in which one colour, in particular, dominated the image gained 40 per cent more likes that the multi-coloured images. Images with a single dominant hue performed best, probably due to the fact that when you’re viewing an image just mere inches from your face, the absence of chaos can help you focus. An image that emphasizes one colour garners more attention, like a photo of the ocean is a true Instagram gold. So make sure the blue colour takes up more than 20 percent of the screen.
5. Know the photography basics
For some quality snapshots, you don’t really have to be a pro at it. However, those camera tricks, hacks, and features are really only going to take you so far. Obviously, there’s a lot more involved with stellar photography than we could learn in a little amount of time but the basics can be achieved and aced with a little learning process.
Composition- if you have not heard of the ‘rule of thirds’ go Google it right away. The arrangement and placement of your subject within your photo will ensure a balanced image. Negative space- avoid any visual clutter with extra, unwanted elements around your subject. Try to minimise your negative space.
Lighting – know your exposure, contrast and sharpness needed for the image. A few notches and you are golden.
Instagram’s own photo editing software has improved dramatically over the years; use the in-app software to add some final touches to your brightness, contrast, or temperature. But beware with so many options it’s easy to overdo it when it comes to photo editing.
https://www.instagram.com/p/Bmvw1fBAy1t/?tagged=dusk


